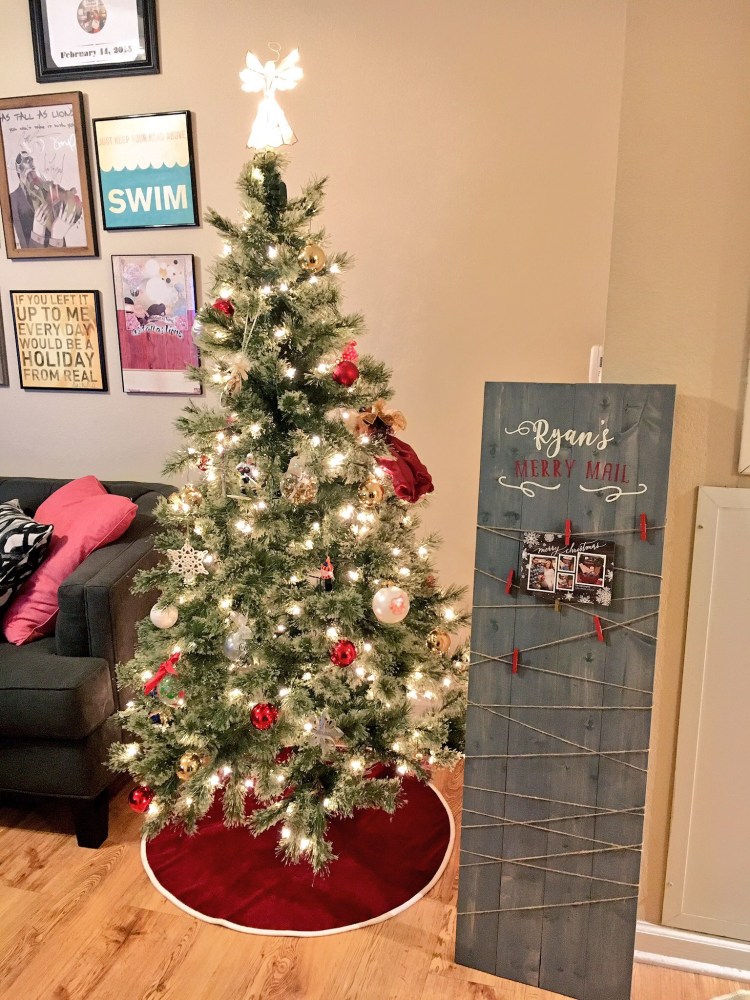
Over the weekend I took my first AR Workshop class after admiring their projects on Instagram for months. I chose their “Merry Mail” Christmas card holder project because I think it’s adorable, and because the past few years MPR and I have been taping our Christmas cards to the wall and I wanted a cuter, more festive way to display them. I love the rustic chic design of this card holder – how very southern of me 😉
Here’s a photo diary of how this project came to be!
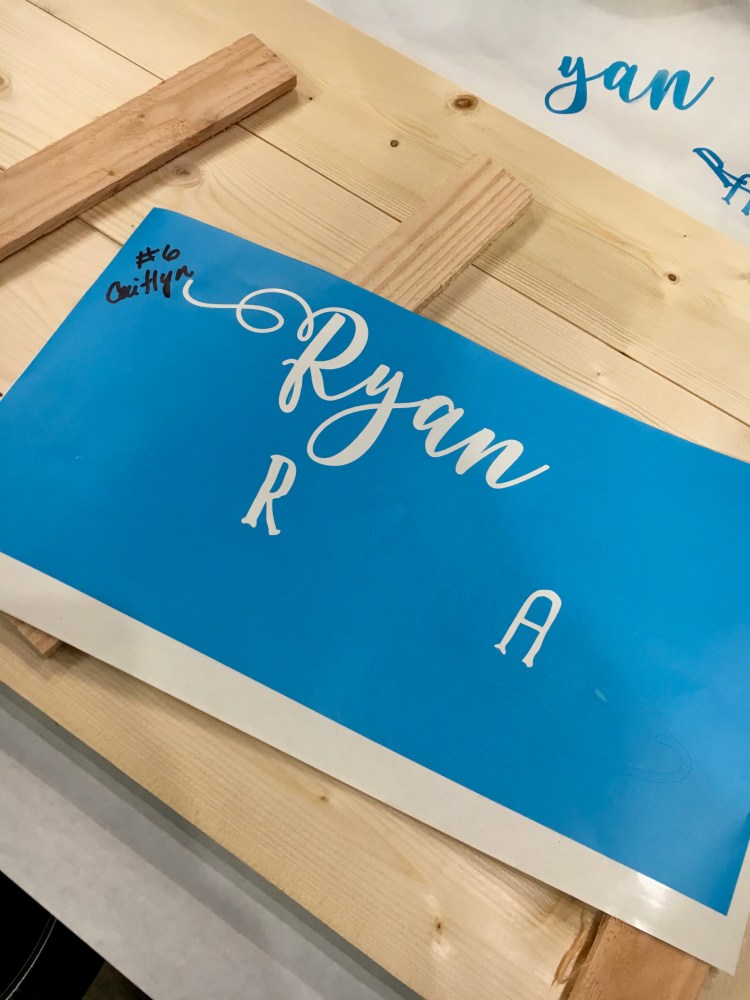
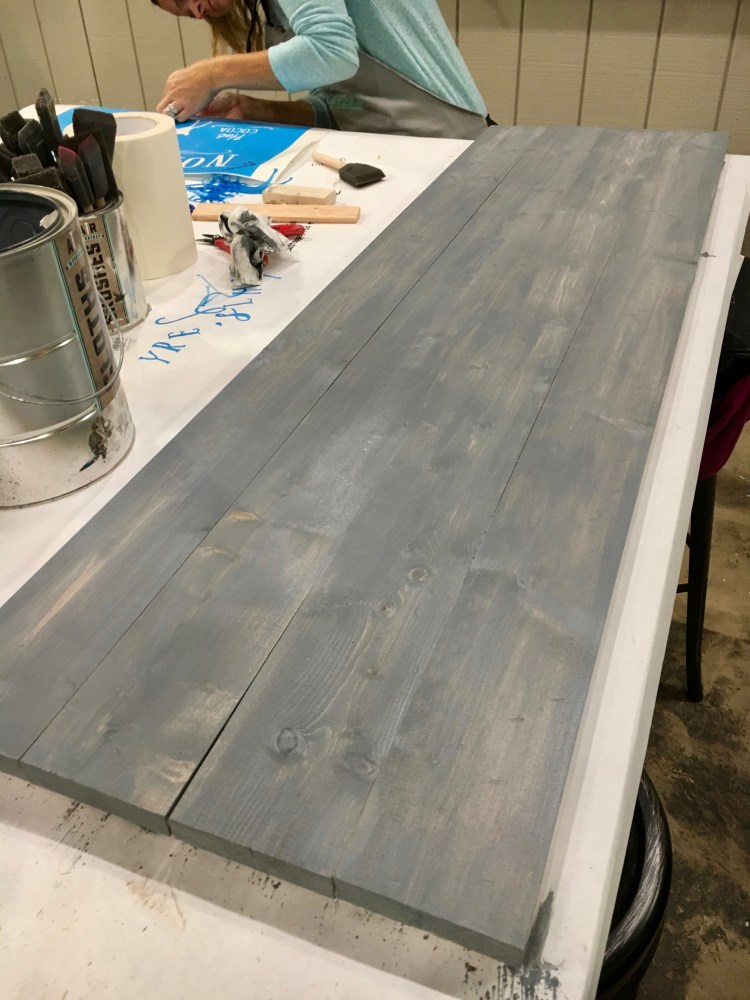
When I arrived at my station, there were four loose 2×4 boards, five smaller boards, and a stencil that read “Ryan’s Merry Mail.” The first step was to distress and then sand the boards to get that rustic, barn wood look.
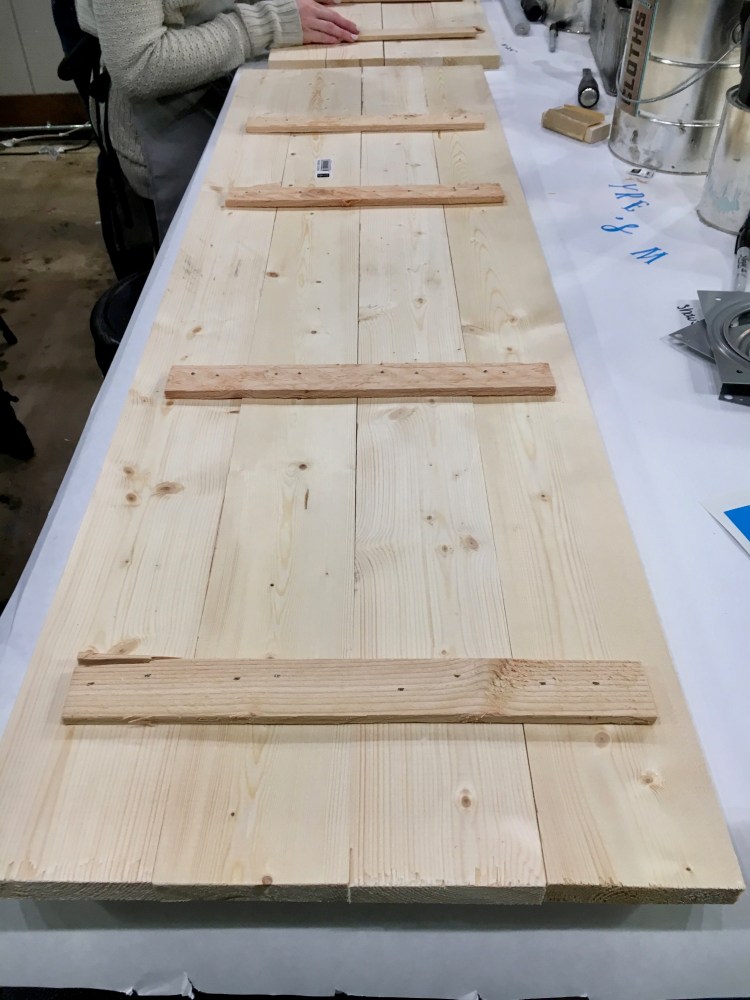
Next, we attached the smaller boards on the back with a nail gun to hold the 2x4s together. It was my first time using a nail gun and it intimidated me a little bit, but I nailed it 😉 (had to).
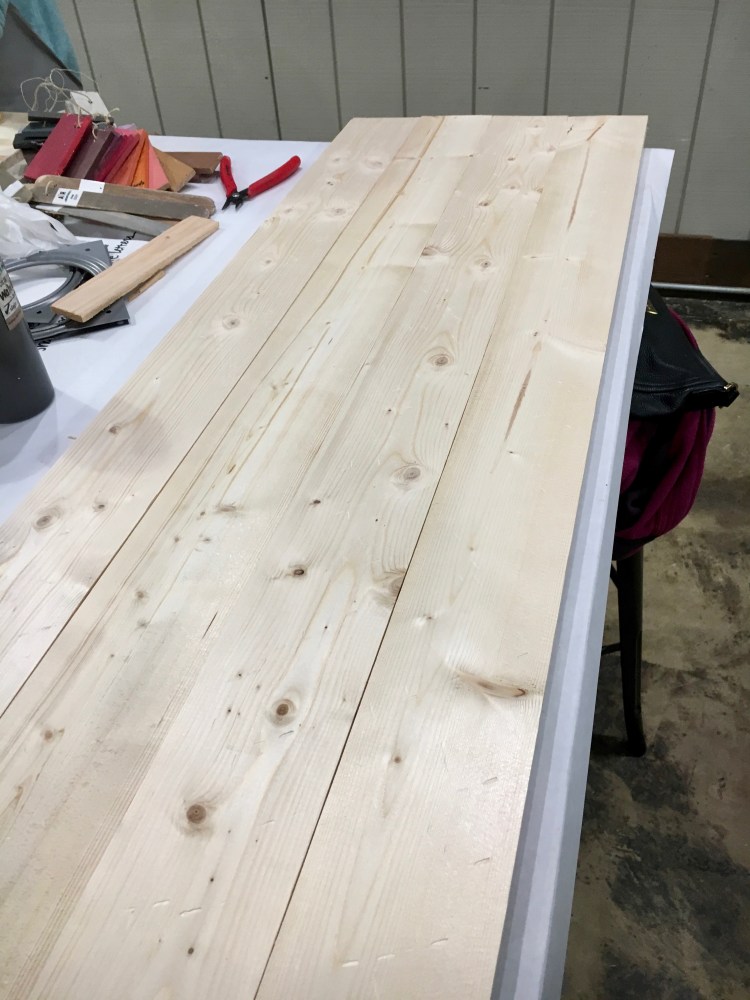
The boards didn’t fit perfectly together, but that ads to the charm! They’re not supposed to be perfect. Just ask Joanna Gaines.

The next step was to peel off the letters from the stencil and pick stain and paint colors.
I chose concrete gray for the stain and showstopper red and white dove for the paint colors. I love how the white and red pop on the gray stain.
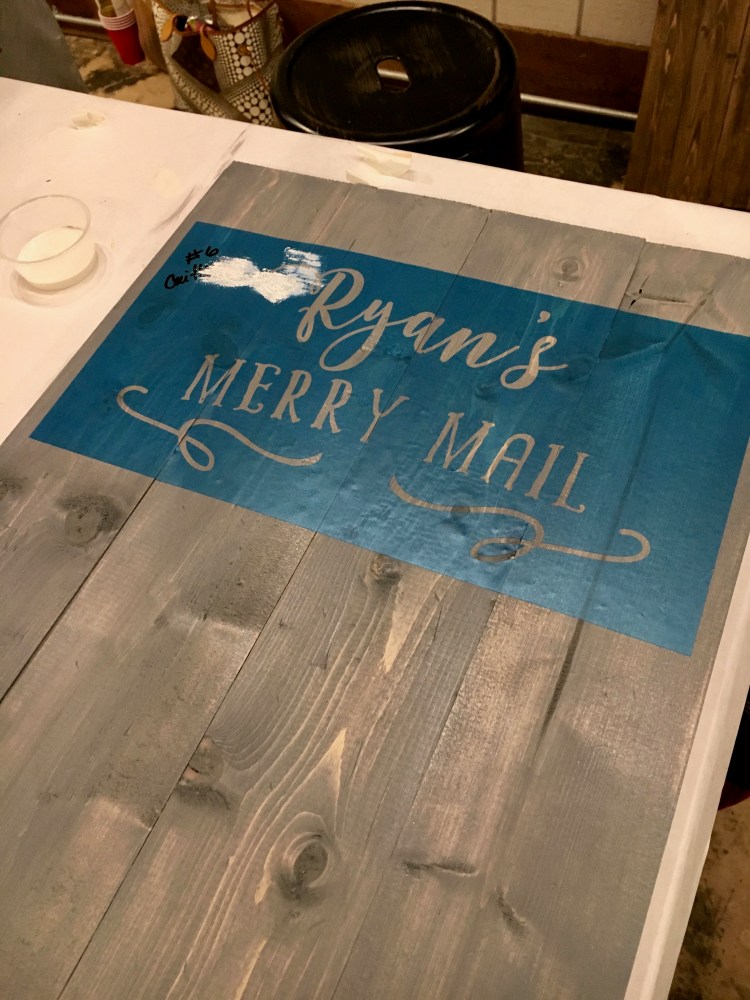
Once the stain dried, I applied the stencil and started painting! It’s important to dab the paint in small amounts to prevent bleeding.
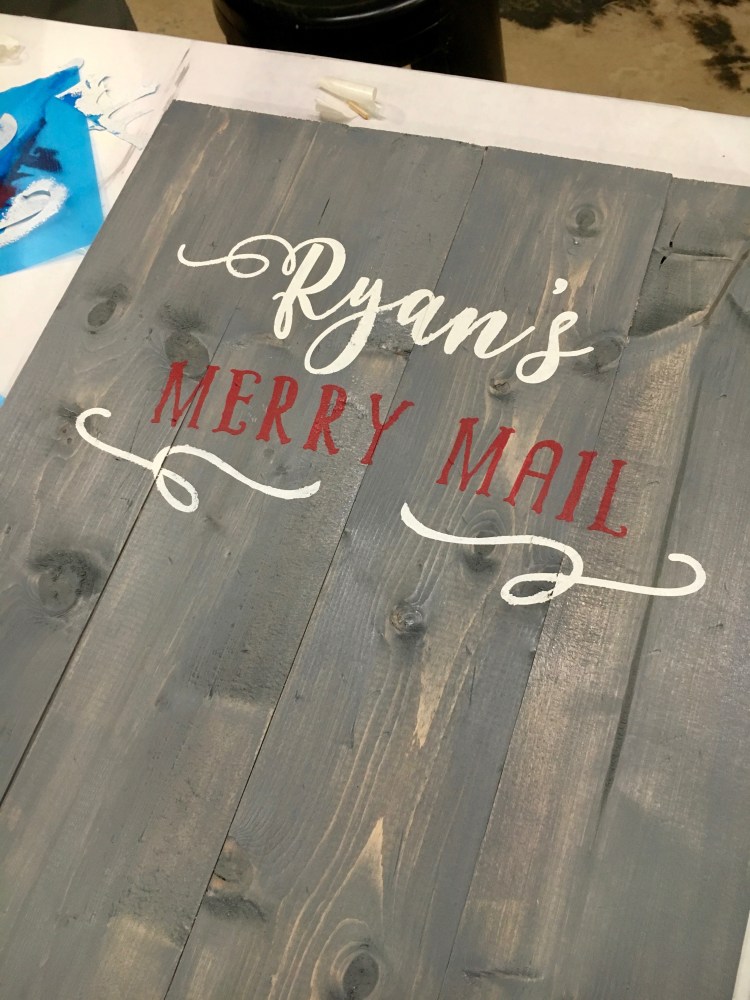
Since the wood is uneven (and I have a heavy hand) there were a few leaks that I touched up with a small brush. But overall I’m really happy with how it turned out!
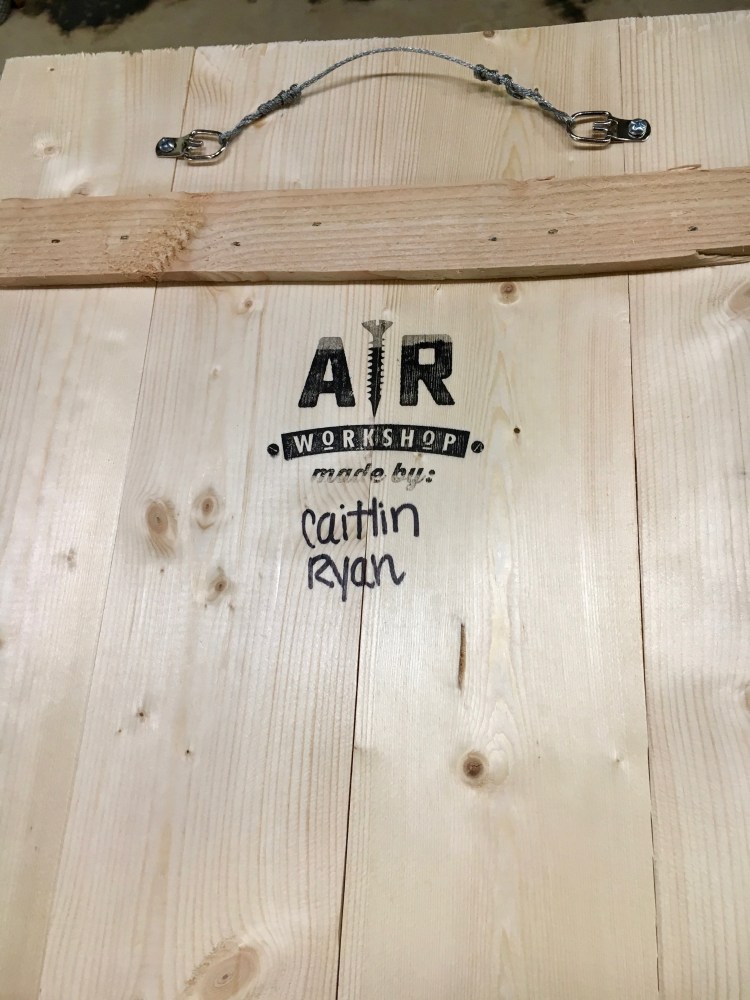
The last steps were to attach the wire hanger, staple and wrap the yarn to hang the cards on, and sign the back!
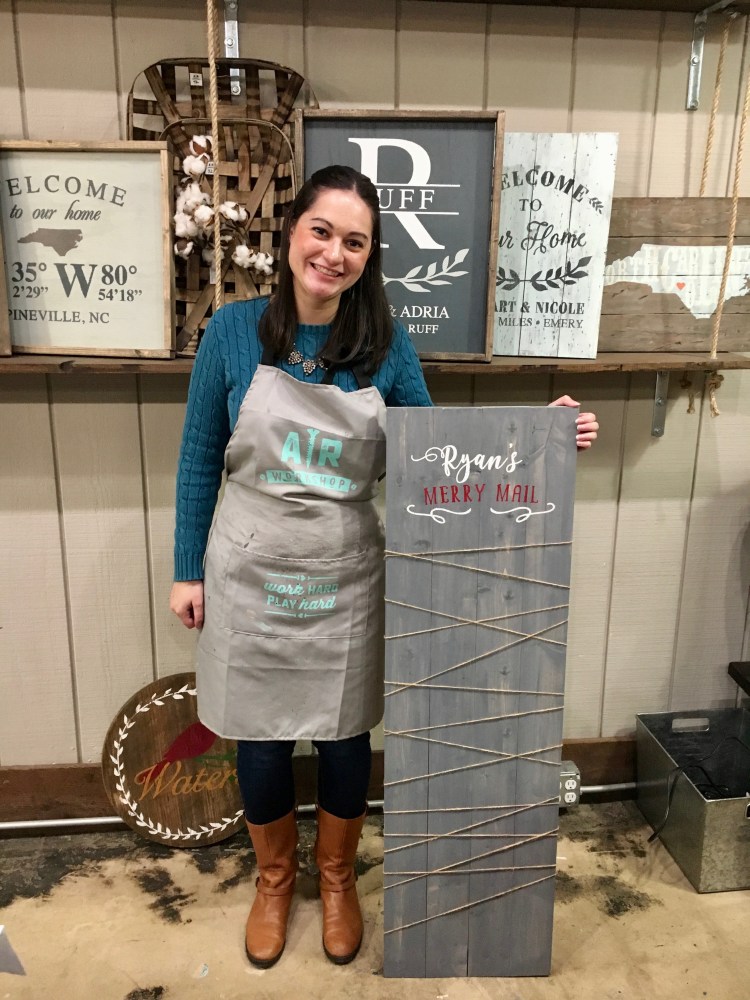
Here I am with the finished product. I love it so much! It’s a great addition to our Christmas decor. I bought mini red clothespins at Michaels to hold our Christmas cards in place and leaned it against the wall near our Christmas tree. I’m obsessed!
I had such a great experience at AR Workshop. Here’s some advice if you’re thinking of taking a class yourself:
Even though the classes online say they’re 2.5 hours, it really takes closer to 3.5 hours to get everything done. It’s not a big deal because the class was really fun and time flew by, but it’s something to keep in mind before you sign up for a weeknight class.
I think the next time I take one of their classes, I’ll opt for a wood frame project (like the ones behind me in the last photo) versus a wood plank project, because I’m not sure, but I assume the wood frame projects come all put together and all you have to do is paint. That will save some time because you won’t need to put the wood planks together. But don’t quote me on that! Here’s a link to all of their projects.
Which design is your favorite?

love this. you should tell me the next time you do fun things like this. I would love to join!
LikeLike